
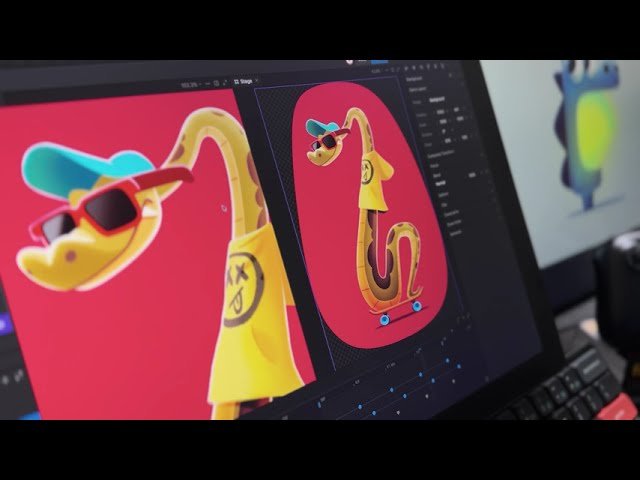
In this video, Rive demonstrates its latest mesh and weighting capabilities through a step-by-step creation of a animated snake character riding a skateboard.
The tutorial begins with character setup and asset preparation. Instead of manually drawing vector contours by hand—the traditional approach to mesh creation—the video showcases Rive’s Auto-Trace functionality. Viewers see how Auto-Trace generates tight, customizable image contours with adjustable parameters including detail, concavity, uniform vertex spacing, alpha transparency thresholds, and edge padding.
Next, the focus shifts to auto-weighting and vertex deformation. Once bones are assigned, Rive automatically generates initial weights, providing a practical starting baseline. The demonstration highlights how to blend bone influences, set maximum bone counts per vertex, and utilize the newly added Smooth tool to refine deformation across complex geometry. To achieve multi-layered mesh motion, secondary controls are nested within primary skeletal bones, enabling independent localized deformations like the snake’s slithering body dynamics.
The video then covers advanced rigging methods, such as faking a 3D perspective shift on the snake’s head using nested bone targets, multi-mesh binding to share single skeletal structures across different visual elements simultaneously, and applying constraints to attach the character to an animated skateboard without distorting its shape.
Finally, the process concludes with animation techniques centered on overlapping loops, weight timing, wheel scale squashing, deck deformation, dynamic hoodie sway, and clipped vector lighting effects on the character’s glasses.