
How to Use Layer Masks in Rive: Complete Guide to Alpha, Luminance, Gradients, and Live Artboards
Interactive motion design relies heavily on clean, dynamic ways to reveal and conceal artwork. While traditional vector clipping paths have long been a staple for designers, they come with a major limitation: hard edges. With the introduction of layer masks in Rive, animators and UI designers can now control layer visibility using the actual pixels of another layer. This unlocks soft feathering, smooth opacity transitions, textured overlays, and dynamic lighting effects directly inside your real-time state machines and timelines.
In this comprehensive breakdown of the official Rive layer masks tutorial, we explore how pixel-based masking works, the four primary mask modes available in the editor, practical animation use cases, data binding capabilities, and key performance considerations for production apps and websites.
Understanding the Four Core Mask Types in Rive
Setting up a layer mask in Rive starts with selecting the target layer or group you want to mask, adding a mask modifier, and assigning a source layer. Depending on the visual effect you want to achieve, Rive provides four distinct mask modes, along with an optional draw source toggle if you want the mask graphic itself to remain visible alongside the masked artwork.
- Alpha Masking Alpha masking evaluates the opacity of your source layer. Any pixels in the source that are fully opaque will reveal the target artwork, while transparent areas will hide it completely. Semi-transparent pixels produce corresponding levels of partial visibility.
- Inverted Alpha Masking Inverted alpha flips the opacity logic. Transparent areas of the source layer reveal the underlying artwork, while opaque pixels conceal it. This is particularly useful when you want to carve out holes or clearings in an overlay layer.
- Luminance Masking Luminance masking reads the brightness values of the source layer rather than its transparency. Pure white pixels reveal the target layer at full opacity, pure black pixels hide it completely, and shades of gray create smooth, semi-transparent transitions.
- Inverted Luminance Masking Inverted luminance reverses brightness evaluation so that black pixels reveal the artwork and white pixels conceal it. This mode is ideal for dark overlays and dynamic lighting setups.
Practical Animation Techniques with Rive Layer Masks
Because a mask source can be almost anything in your hierarchy, layer masks open up workflows that are impossible to replicate with standard vector paths.
Soft Gradient Transitions and Flashlight Effects Because luminance mode responds directly to brightness values, linear and radial gradients produce remarkably smooth reveals. By placing multiple gradient shapes inside a Solo group and keying which one is active on the timeline, you can transition seamlessly between a sliding horizontal wipe and a closing radial iris. Combining a radial gradient with inverted luminance on a dark overlay layer also lets you build interactive flashlight beams or spotlight effects that illuminate artwork as the user moves a pointer.
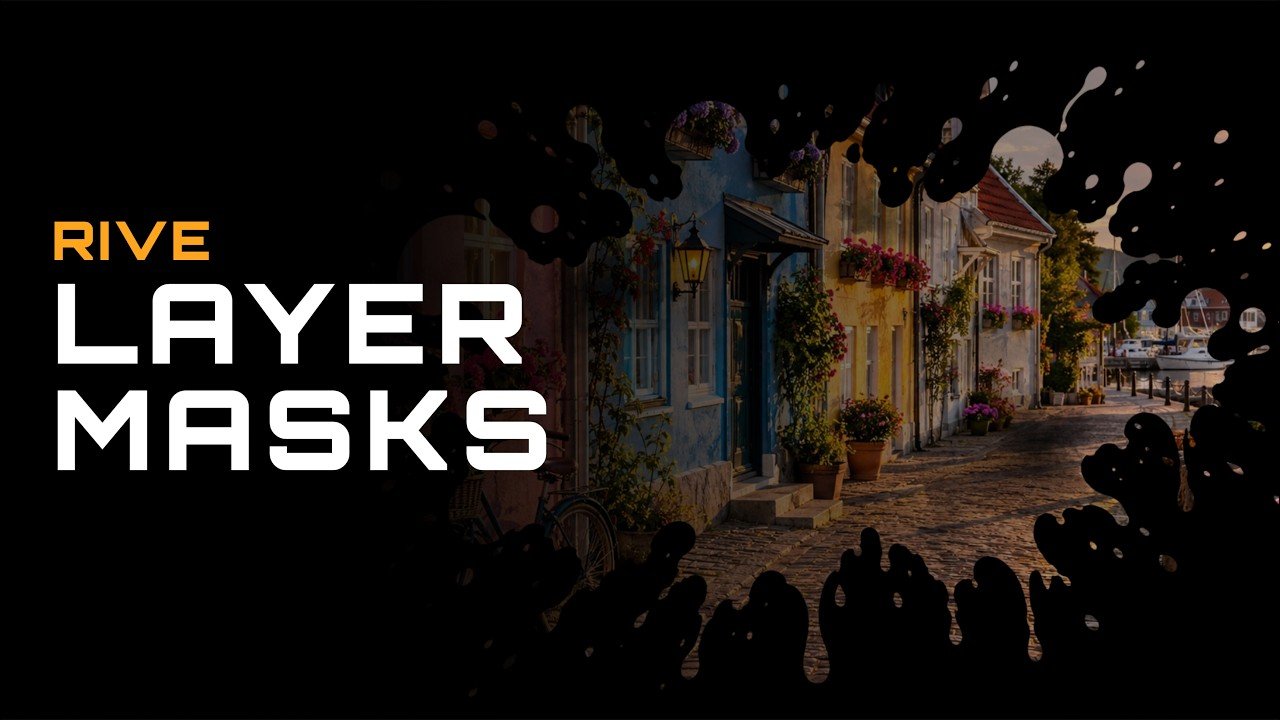
Organic Image and Texture Masking Raster images and complex textures work effortlessly as mask sources. For example, using a watercolor ink splatter image as an alpha mask lets a photograph bleed through only where ink is present, preserving delicate semi-transparent droplets in the center. Similarly, applying a grunge texture as a luminance mask over clean vector typography and logos instantly gives flat vector illustrations a distressed, stamped ink aesthetic. You can even key the mask property on and off along your timeline to toggle the effect dynamically.
Animated Groups and Nested Artboards When you assign a group as your mask source, animating the individual objects inside that group animates the mask itself. In a game map interface, a group of expanding cloud shapes set to inverted alpha can simulate a real-time fog-of-war clearing as a character explores. Even more powerful, a nested artboard can serve as a live mask source. Animating hand-drawn brush strokes inside a component and linking that artboard as a mask allows a poster or illustration to paint itself onto the screen. Updating the brush animation inside the nested component automatically updates the reveal across your main scene.
Blend Modes and View Model Data Binding Layer masks integrate smoothly with Rive blend modes and data binding workflows. You can pair an additive rainbow gradient with a metallic foil luminance mask to create interactive holographic trading cards that shimmer as a cursor moves. While the mask source target cannot be keyed or data bound directly, mask properties and visibility toggles can be bound to your view model, allowing live user inputs—such as dragging a comparison slider or flipping a UI switch—to control soft-edged reveals in real time. When you need to swap mask shapes dynamically at runtime, masking to a Solo group lets you switch active children effortlessly.
Layer Masks vs. Clipping Paths: Performance Best Practices
Choosing between a layer mask and a clipping path comes down to visual requirements and rendering efficiency. A clipping path uses mathematical vector geometry, keeping edges razor-sharp at any zoom level with zero partial transparency. A layer mask renders pixels to two offscreen textures that update whenever the mask or its source animates. If your design calls for feathered edges, gradients, raster textures, or variable opacity, layer masks are the right tool. However, if a crisp, hard edge is all your animation requires, sticking with a traditional clipping path remains the lightest and most performant choice for web and mobile runtimes.
Watch the full tutorial on YouTube: http://www.youtube.com/watch?v=Mx_mygRGczo